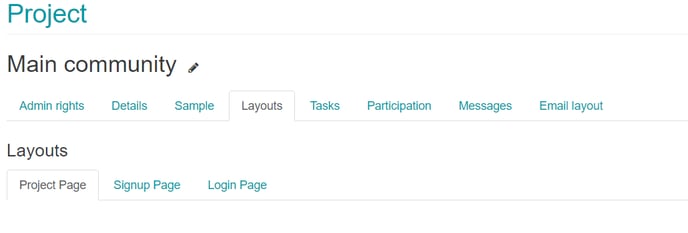
All the boxes on the project home page and login page are controlled by ‘widgets’, which are found in: backroom > projects > (select the project that you want to change the widgets for, e.g. ‘Default’ > then click on the ‘layouts’ tab). You can arrange the widgets on the login/project home/sign up pages however you want. You are able to set different Signup/Login page layouts for different projects. However, we recommend making it as easy as possible for users to find the activities you want them to take part in.
Introduction to widgets
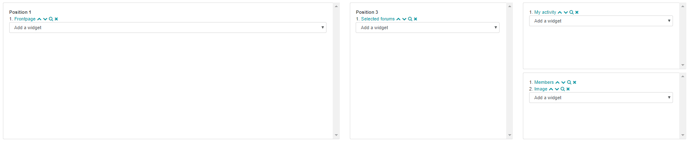
Widgets are arranged in a grid format. Each widget location is numbered (you need this number when setting up new widgets). There can be either 2 or 3 rows of widgets on the homepage (the top row is widget 1-4 from left to right; the second row is widget 5-8, and row 3 is widget 9-12).
There are different types of widget you can use on the main site homepage and login page and also what you can use on the mobile site homepage.
Widgets are made up of the widget header (the aqua background) and widget body (the white background):
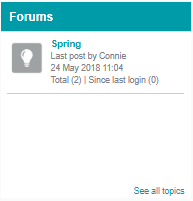
A widget header can either take the site branding or can have an image uploaded to it.
Widgets can be sized as single or double width and/or height, the screen shot below shows some of the potential sizing options:
Widgets can be merged to be larger than (double width/height) however this must be done through the site CSS which only your FlexMR project manager can do for you.
Widgets can be images (full images, or just part image) - if you are using any images in your widget they first must be added to theme images.