To create an embedded survey, all that is required is to select this as a sampling option after building your survey in the usual way (please see our guide to building a survey in SurveyMR 2.0 here).
On the sample tab, first select the ‘Get an open link’ option:
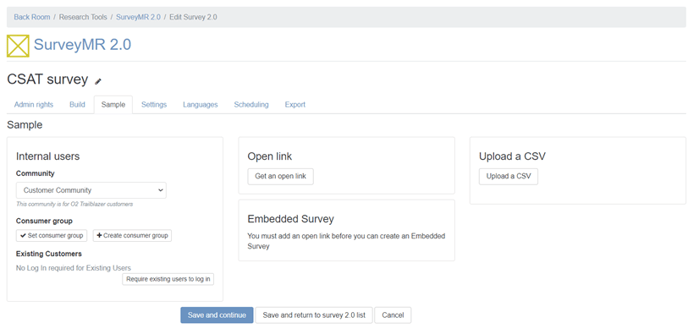
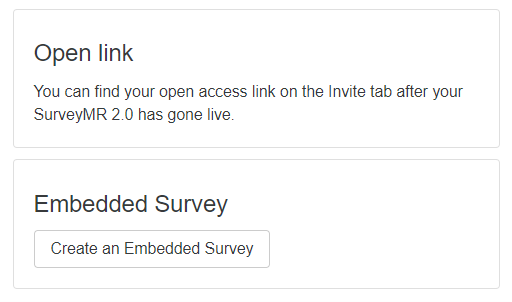
Next, select the option underneath to ‘Create an Embedded Survey’
You will see a pop-up screen, and here you need to add the title, description and button text that will show on your website, inviting customers/site users to take the survey. An example of how this text will display on the embedded survey is shown below.
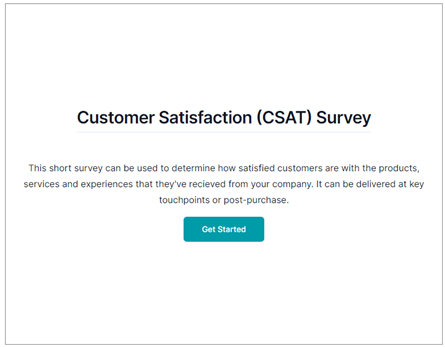
Because the embedded survey will be available to everyone who visits the page where it is hosted, this screen is shown before the survey start node text (if included) or the first question, and users will only be taken to the survey and recorded as having started if they click the button.
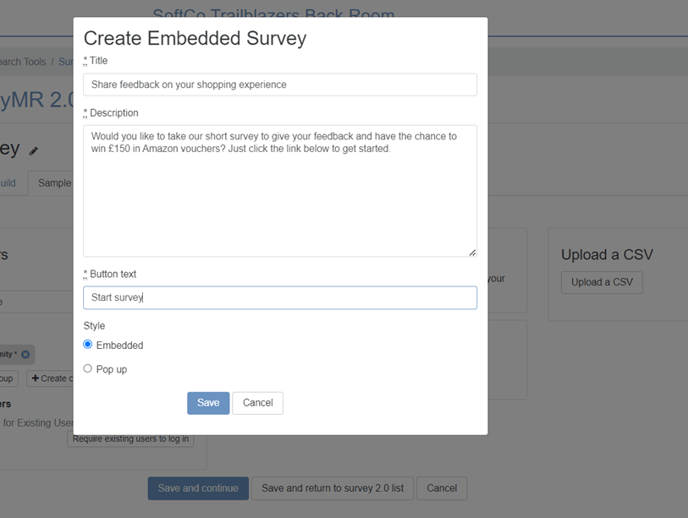
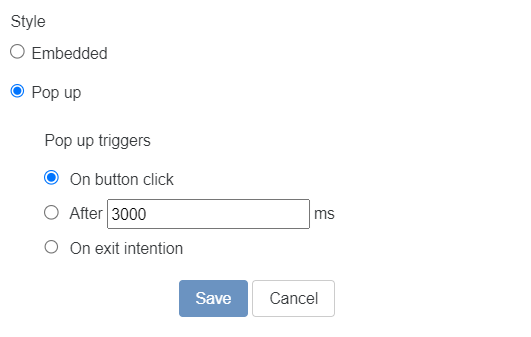
After adding your title, description and button text, you then need to select whether you want to use this as an embedded survey or a pop-up survey.
An embedded survey will be appear as being built into your web page, whereas a pop-up survey will show in a pop-up box after a visitor clicks a specified button, after a pre-determined amount of time or when the user starts to navigate away from the page. If you select the option for a pop-up survey, you will see these additional settings to add:
After saving your selection, once you make the survey live you can then go to the ‘invite’ tab and the code for your survey will be available to copy and share with your website team to be added to your page coding.
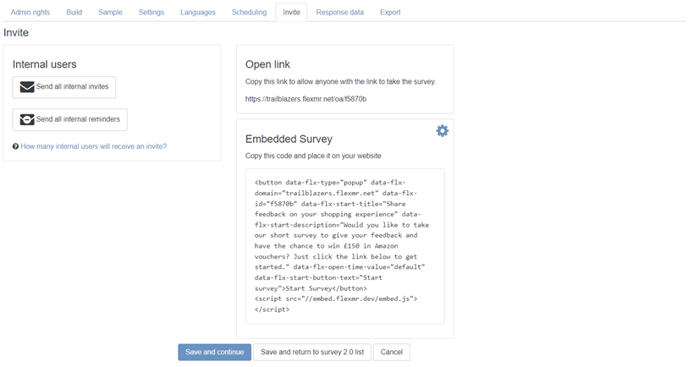
Should you wish to make any changes to the title, description, button text or type of survey (embedded or pop-up), you can do this from this page by selecting the ‘cog’ edit icon in the top right-hand corner of the code box.
Important note: Should you make any changes to the title, description, button text or type of survey, this will alter the code. With this in mind, after making any changes please re share the updated code with your website team.
Finally, it is important to make sure that the website where you plan to host the embedded survey is listed in your InsightHub settings as an ‘allowed URL.’ To check, or to add a website for the first time, navigate to the Backroom > SurveyMR 2.0 and select the ‘Settings’ button.

You can then add a list of allowed URLs, separated by a comma;
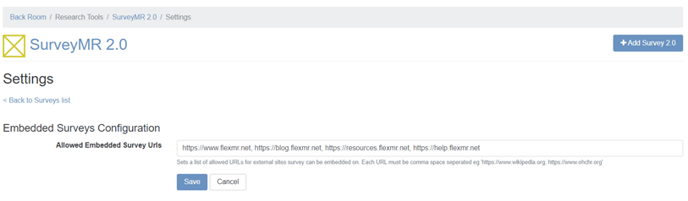
Top tip: To give your website ‘permission’ to host the embedded survey, you need to add it as an ‘allowed URL’ in the settings options on the SurveyMR 2.0 page
When you view the download of responses to your survey from the survey ‘Export’ tab, you will be able to see in the ‘Interface’ column which respondents took the survey in its embedded location:

For examples of embedded survey use cases, and embedded survey best practice ideas, please visit our blog here.