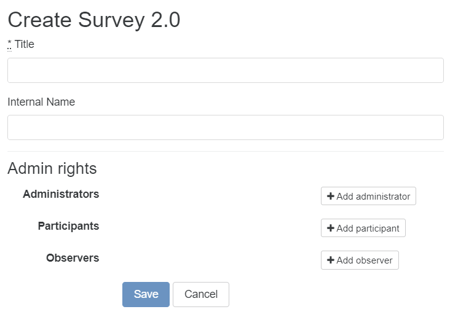
To add a new survey click on the 'Add Survey 2.0' button. This can be accessed through Back Room > Research Tools > SurveyMR 2.0
Should you want to re-run a survey you have used previously, rather than programming the whole survey again, you can instead duplicate the survey.
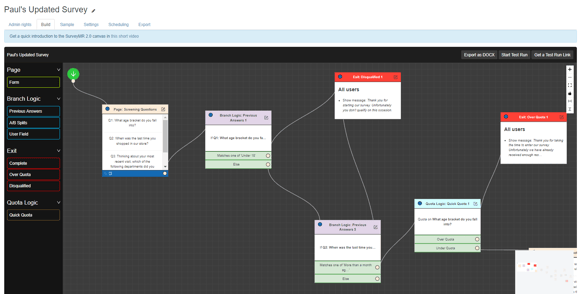
Once you have your survey space created, you can then begin to create the actual survey content within the ‘build’ tab. In the build tab, you will see your blank canvas with your menu options down the left side of the page.
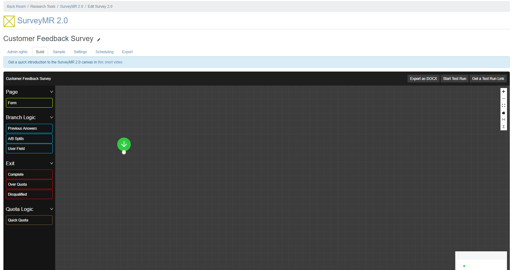
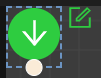
Your start node is the first element of your survey, this will automatically show at the top of the canvas. You can choose to add a message to your respondents here by clicking on the green circle and selecting the ‘edit’ icon in the top right side of the node. If you leave this blank, the survey will begin with your first question.
To create questions and routing, left click and drag into the canvas space the elements you require from the menu on the left-hand side of the page.
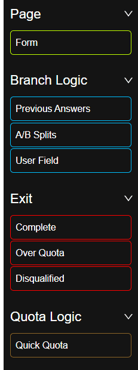
- Form – forms allow you to add question and are the first building blocks of your survey. Once added, a single question or multiple questions can be added into 1 form in your survey
- Previous Answers – allows you to separate your survey into two separate paths based on the answers given – for example, if answer to Q1 = X you can link them to another part of the survey
- A/B Splits – choose a number of groups to randomly split your sample in the survey and send them down various different paths you have created
- User Field – create different paths based on your database and user field values assigned to members (this can only be done using fields that have a preselected list assigned)
- Complete, Over Quota & Disqualified – set various exits throughout your survey to tailor your user experience. You can have more than 1 of each of these nodes throughout your survey to cater for internal and external respondents
- Quick Quota – adding quotas to your survey questions lets you specify how many respondents can give a specific answer. Please note: If you plan to use quotas within your survey, you need to add in the quick quota box and it's connections before your survey goes live, as this cannot be added once the survey is live.
To Delete a Form
If you find you need to delete a form within the survey, there is a simple way you can do this:
Firstly, you can delete a form by clicking on the form itself, and press the delete key on your keyboard.
If you don’t have a delete key, another option would be to select the form you wish to delete > Click the ‘Edit’ icon at the top right of the form > a side bar will pop up on your screen to the right > in the bottom left corner of the side bar there is a ‘delete’ button.
Once this is selected you will be given another opportunity to confirm if you want to delete ‘yes’ or ‘no’. To proceed, select ‘yes’.
Each of the features you drag into the canvas are linked using connector lines – simply select the outport/inport of 1 box and drag to the box you would like to connect to, to create the flow and journeys of your survey. Any changes you make on the survey build page will automatically be saved.
Connector lines can also be deleted. To do this, click the line you'd like to delete. This will then turn blue, to show it is highlighted. Next, click the 'Delete' key on your keyboard. You will then be prompted to confirm if you would like to delete the line; select 'yes' or 'no'.
Next steps
Once you have added all your questions and routing, you will then need to test your survey in order to make sure this works as expected. You can then make any corrections to the survey should they be required.