To send a survey out to a sample of people from a CSV file, you first need to create your sample file (saved as a CSV) and containing the following fields in this order:
- Title
- First name
- Last name
You can then add extra fields to your CSV file but they first must be added as user fields within the platform and the column header must match the name of the user field completely (spelling and case, with no additional spaces). The required fields of ‘Email, Title, First name and Last name’ will not show in the export of survey responses
IMPORTANT: if you wish to be able to match your survey responses back to the individual users in your CSV file, then it is necessary to add an extra column and corresponding user field to track this. For example, create a user field called ‘Customer ID’, then add a 5th column in your CSV file called 'Customer ID' and populate a unique ID for each user/row.
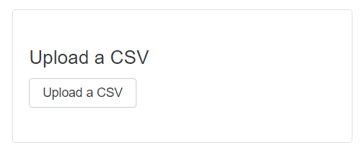
To upload your CSV file, click 'Upload a CSV' on the 'Sample' tab:
Browse to your file:
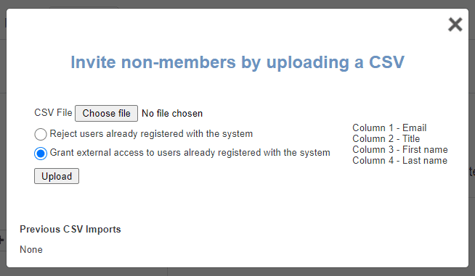
If your file contains people who may have accounts in the platform but you still want to email them, you need to 'Grant external access to users already registered with the system' if you don't want to email them (e.g. if you are using this as a way to recruit new members to the platform) you need to 'Reject users already registered with the system'.
This pop-up also shows previous uploads to the same survey.
Once you have uploaded your CSV file, you have the option to see the list of respondents you have invited:

Once your survey has the sample uploaded to it, you are then able to complete the last bit of the set up around scheduling.