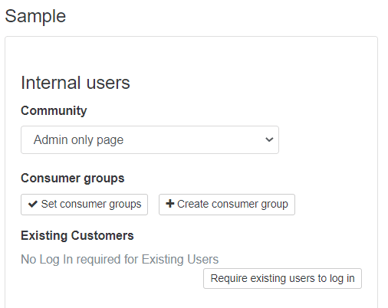
If you wish to run a survey purely to respondents who do not have an account on the InsightHub, in the ‘Sample’ tab of your survey un-tick the consumer group and save the tab, leaving the internal user settings blank:
You then need to press 'Get an open link' under the open link header:
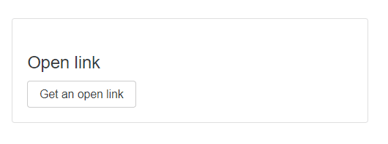
Once you have selected to create your open link, the button will produce the following message:
‘You can find your open access link on the Invite tab after your SurveyMR 2.0 has gone live.’
On the 'Settings' tab of your survey, you can then add some optional additional settings for the non-members accessing your survey via the open link.
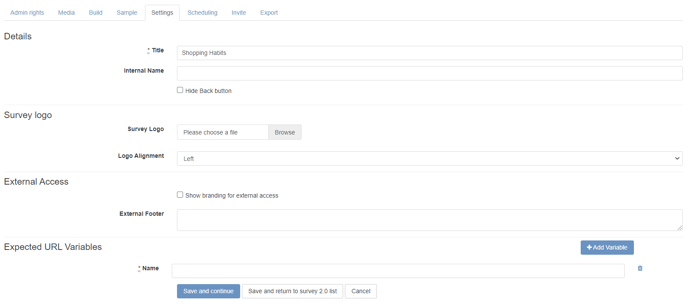
Survey Logo
You can add an optional logo to the survey and specify how you want this to be aligned on the page (left, centre, right).
External Access (branding options)
For surveys going to respondents without accounts on the platform, the default option is for the site branded header space and footer from the survey to be hidden. The colours used within the platform will be maintained (as will the URL) but the logos and footer links you use on the platform won't be displayed. If you would like to use your site header and footer, tick the box for ‘Show branding for external access’.
You can also here add text to show in the footer space (e.g. link to privacy policy, survey prize draw terms and conditions etc.).
Expected URL Variables
If you have selected ‘Get an open link’ on the survey ‘Sample’ tab, you can copy the link that displays on the ‘invite’ tab and send this out directly to your customers, or publish this link, for example, on social media or on another website. When used in this way, each respondent will use the same open link and their responses will be anonymous in the data set.
When sending out an open link to a survey through a CRM system, you might wish to add additional data to the end of the link you send out to respondents, for example, a unique code which identifies each customer, or demographic information. For this to be recorded in the survey data export you need to specify the field (data) that you would like the data file to collect.
To work, the link must be formatted in the following way:
Original survey link - https://platform.flexmr.org/oa/5699f4
Link containing additional data - https://platform.flexmr.org/oa/5699f4?SOMETHING=SOMETHING
e.g. - https://platform.flexmr.org/oa/5699f4?id=123456
You can also add more than one piece of data, for example:
https://platform.flexmr.org/oa/5699f4?gender=female®ion=london
In the data set, the variable will be the header of the column and the information after the = would be the value which has pulled through from the CRM for each respondent.
To prevent unintended information being added to the data set, the system will not record any data which is shown after the end of the link unless this has been set as an ‘expected URL variable’ in the survey settings.
In the examples above, ‘id’ or 'gender' and 'region' would each need to be added to the expected URL variables section of the survey for the related data to pull through into the survey data download.
To do this, click the ‘+ Add Variable’ button and type the name of the variable that will be collected in the survey results. This tells the platform what to expect and record in your results download.
We recommend that you test the live survey before sending your links out to the respondents to make sure that your variables are showing correctly in the data download.
Uploading a list of people to invite
Should you wish to use the platform to send out an email to a list of potential respondents, you will also need to upload a CSV to the survey to do this.