Newsletter Overview
The FlexMR Newsletter uses a framework so that you can build your email template in stages. You can choose from a pre-set framework, or build your own by adding in elements, which are displayed as boxes outlined in blue. With either option you can add or remove elements as you go, working on a single element at a time.
The Newsletter is designed for you to be able to write your content directly into the template. You can also copy content from another location – we recommend that you do this using plain text to remove any competing formatting.
Building a new Newsletter
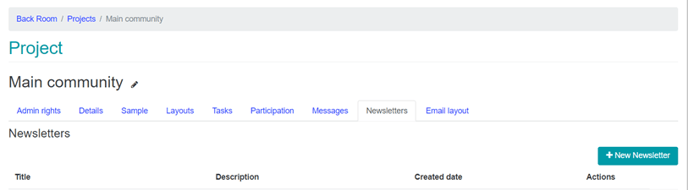
The FlexMR newsletter is located in the project area of the platform. To access this, go to ‘Back Room’ > ‘Projects’, and select the project you wish to create the newsletter for. This may be a specific project or your ‘Default’ project. Then select the ‘Newsletters’ tab within the project and you will see the ‘+ New Newsletter’ button on the right-hand side of the screen.
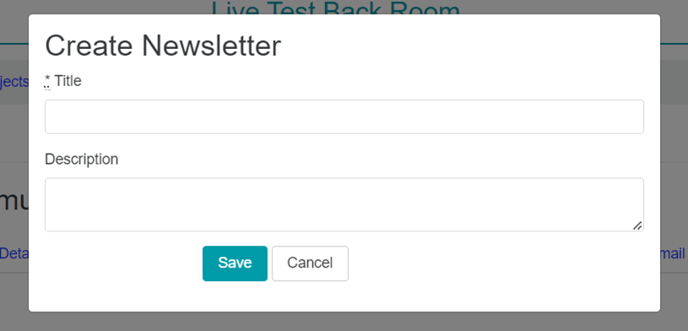
When you click the ‘+ New Newsletter’ button, a pop-up screen will show prompting you to give a name and optional description for the newsletter draft. This will not be seen by the recipients of the newsletter but will help you to find and re-use this template again in the future.
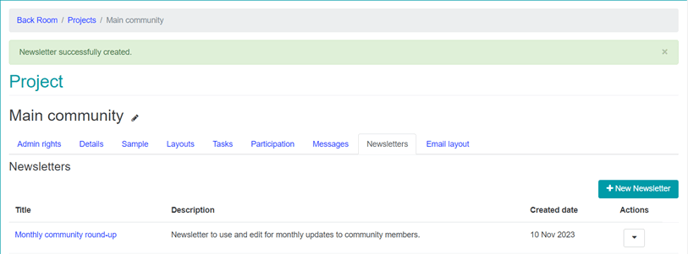
Once saved, your newsletter template will show in the list on screen. This is also where the content of newsletters you have previously saved can be found. You can click into the title to continue to edit the template, or you can delete or duplicate the template by expanding the ‘Actions’ menu to the right of the screen.
Quick Start Tips
- You can find pre-created templates by clicking on this button on the toolbar:
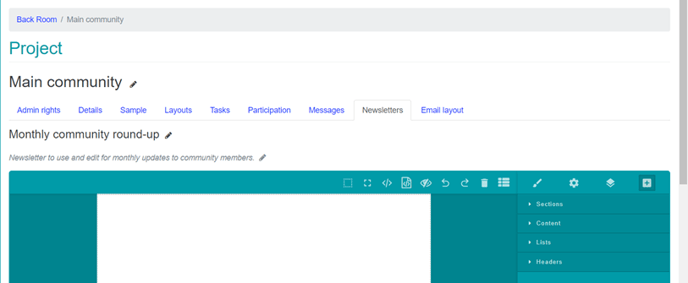
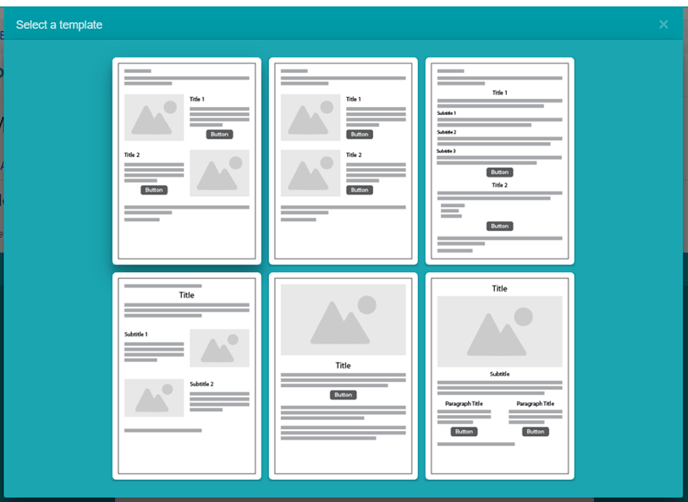
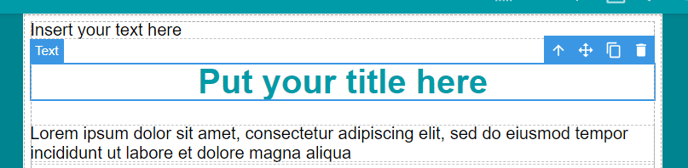
- Once you have selected your template you can edit the elements to add in text and choose new images. To edit an element click it once so that a blue outline is visible, and then double click to highlight and edit the contents.
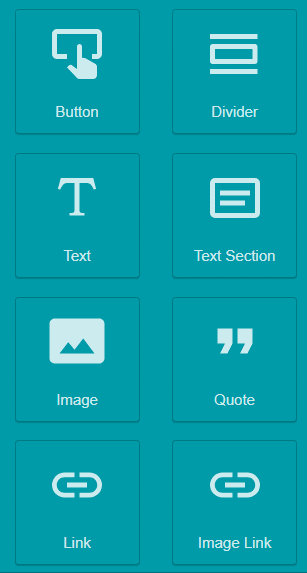
- You can add new elements to the layout of your newsletter by dragging a section type (e.g. a single section or a columns section), and then subsequently dragging and dropping content (such as a text box or link) into that section.
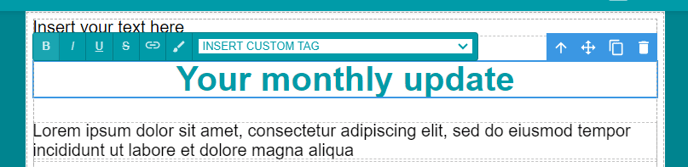
- You can tweak layout and content further by clicking on an element, then on the ‘paint brush’ icon to reveal more options for changing the size, style and colour.
Saving, sending or scheduling your Newsletter
When you’ve drafted your newsletter and are ready to send this or schedule this to send at a later time, the options for this can be found at the bottom right of the page. These options include;
• Save – Saves your newsletter so that you can come back to it and finish it later
• Cancel – cancels the edits that you have not yet saved
• Save and send – Allows you to schedule and send your newsletter, full explanation of this below.
When you select save and send you will be presented with the below screen that allows you to set a subject as well as a consumer group for your newsletter. Should you wish to immediately send your newsletter you can simply select schedule or send and this will then be sent out to your chosen consumer group.

If you need to cancel your scheduled newsletter, go to back room > select your project > click on the ‘messages’ tab. You will see your scheduled newsletter in the list. On the right-hand side under ‘Actions’ click on the ‘X’ icon to cancel your newsletter:

Reviewing sent Newsletters
You can view previous newsletter mailings by clicking on to the ‘Messages’ tab of your project. Here, you will see details including the number of emails sent, delivered, and opened for newsletters you have sent out, allowing you to monitor impact and engagement.

Find out more about the newsletter content editing features via: https://help.flexmr.net/en/html-newsletter-content-editing