The following video walks through the basic steps to selecting sample based on consumer groups. Alternatively, a written explanation with screenshots continues below.
Whenever you need to search for a particular segment of users to target your research activities at you will need to use the select sample page, you can either add users to consumer groups which you have already created or create new groups via the select sample page (Back room > Database > Account Search).
On the account search page, you need to first select your sample selection criteria using the filters on the left hand side of the page:
- Personal field– allows you to search on name, email address or screen name
- User Fields – allows you to search for users based on the user field data, the user fields will displayed under the category they were set up as part of (see 'User fields')
- Project Membership – allows you to search for users within a specific project on the site
- Group Membership – allows you to search for ‘members’ or ‘non-members’ of previously created consumer groups
- Task Participation – allows you to search for users who have or haven’t taken part in a specific activity
- Results – allows you to search based on responses to closed questions in a poll, survey, report card or diary study task:
- Select the source type (poll, survey, report card or diary study task) from the dropdown
- Then select the specific source (which survey, poll etc. you want to base your filter on)
- Select the question you want to use
- Then select the answer you want to base your filter on
- You can combine filters or use Advanced Filtering
- Points - allows you to search for users based on points, greater than, equal to or less than a specified number
- Email Frequency - this is only available if you have the email limiter function activated in your InsightHub. You can identify users who have received an email within a range of days and remove or add these users from/to your sample. This is useful if you are selecting a small sample, using this filter you can be sure that those selected will receive the invitation.
- Role – allows you to search based on a users’ role (e.g. client or consumer)
- Access Behaviour – allows you to search for users based on various fields including:
- Active/inactive – whether a member is active (logged in and set a screen name) or inactive (never logged in and not set a screen name)
- Subscription – whether a member is subscribed or unsubscribed from the site
- Last log in – whether a member has logged in on or after a specified date
- Tenure – the date after which a user’s account was created on the site
- Purged/not purged – whether an unsubscribed user has had their account details purged
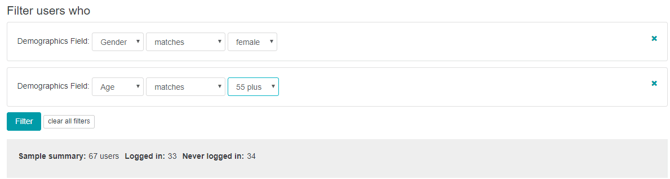
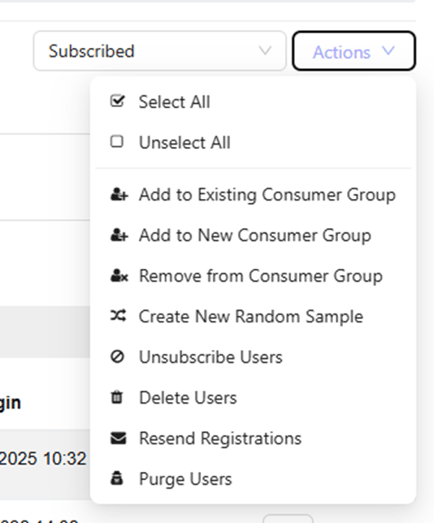
You will get a breakdown of the number of users matching your sample criteria (total, logged in and never logged in); you can then add them to either an existing consumer group, a new consumer group or split them into a random consumer group sample (2 or more consumer groups of an equal size) through the 'actions' drop down menu on the top right of the page.
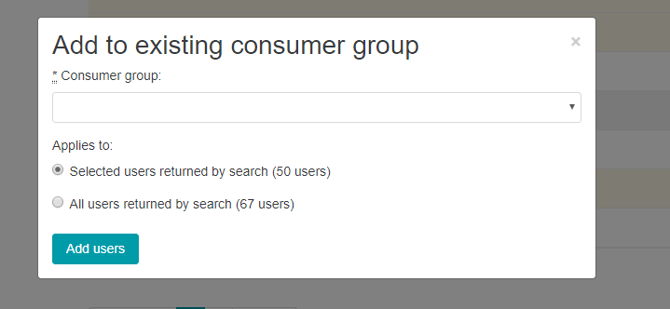
Adding to an existing group
When adding users to an existing group, select the group from the drop down list and specify whether you want selected users (i.e. all those on the first page), or all users from the search to be added to the group:
Adding to a new group
If creating a new group, you will need to give it a name, description, specify the project and also whether it applies to selected users (i.e. all on the first page), or all users from the search:
Creating a random sample
Creating random sample groups allows you to create groups of users with or without specific factors such as user fields. This is great for when you have a multi-faceted project and don’t want to fatigue users with too many tasks etc.
To create a random sample the process is identical to creating a consumer group as above so all other filters can be applied and used to filter the users down to the ideal sample. Once filtered you can then select ‘Create new random sample’ from the actions drop down menu and you can then configure your group/s.
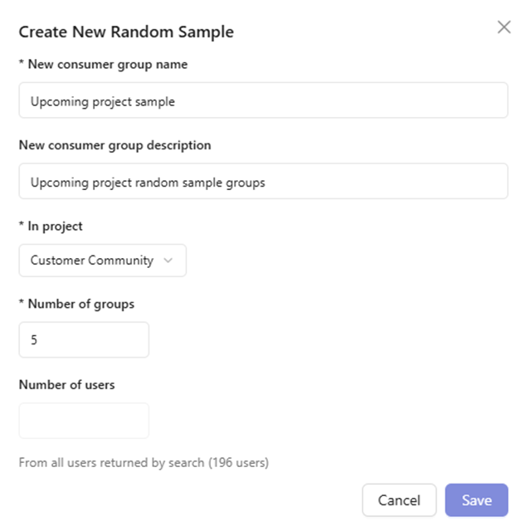
When setting up your random sample you will need to first specify the title, the project that you want the groups in you can then select the size and number of groups created. Selecting a specific number of groups only will then create that number of groups by dividing all the selected users randomly into the number of groups equally (5 in the example below). Should you also select the number of users as well, then the specified number of groups will be created, with the specified number of users in each of the new groups. The new groups created will then have a number in addition to their title to ‘Upcoming project group’ would become ‘Upcoming project group-1’ and so on up to the number of groups specified.
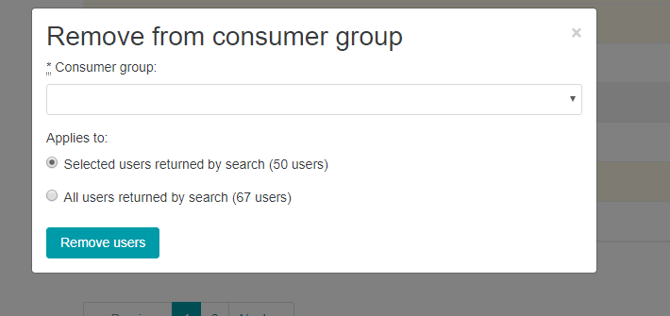
Remove from consumer group
Should you need to remove people from a consumer group, simply apply the filters in the same way as you would if you were adding someone to a group and from the actions at the bottom of the page, remove them from the group(s) as needed by selecting them from the drop down box:
Resend Registrations
Should you need to prompt inactive users to activate their account and log in, the resend registrations button will resend the new account email/welcome email to those who are inactive. Filter for those who are ‘inactive’ using the Access Behaviour > Active/Inactive filter. Please note if you wish to edit the new account email/welcome email template text before sending out your resend registration emails, please contact support@flexmr.net